Keeping your boat’s gas tank clean is one of the most critical yet overlooked aspects of marine maintenance. Over time, sludge, debris, water, and old fuel can build up inside the tank, leading to clogged fuel lines, poor engine performance, and even total engine failure. Whether you’re dealing with a used boat, prepping for seasonal storage, or simply keeping your vessel in optimal condition, knowing how to clean a boat gas tank properly is essential.
This comprehensive, step-by-step guide will walk you through every detail of boat gas tank cleaning—from safety precautions and tools to final reinstallation and fuel system care. By the end, you’ll feel confident in your ability to keep your fuel system clean, safe, and efficient.
Why Cleaning Your Boat Gas Tank Is So Important
Before diving into the process, it’s vital to understand why gas tank cleaning matters so much:
1. Prevent Engine Damage
Dirty fuel tanks can introduce contaminants into the fuel lines and injectors. This can:
- Damage internal components
- Lead to misfires or rough idling
- Decrease fuel efficiency
2. Avoid Water Contamination
Boats are often exposed to moisture. Even a small amount of water in your tank can cause:
- Corrosion inside the tank
- Fuel-water separation (phase separation)
- Bacterial growth in diesel tanks
3. Prolong the Life of Your Fuel System
A clean gas tank keeps:
- Filters cleaner for longer
- Carburetors and fuel injectors performing well
- Your engine running smoothly
4. Essential for Seasonal Storage
If your boat sits idle over the winter, the fuel inside can degrade and cause varnish or sludge buildup. Cleaning the tank before and after storage is critical for engine health.
Signs Your Boat’s Gas Tank Needs Cleaning
Not sure if your boat needs a gas tank cleaning? Watch for these signs:
- Engine stalls or hesitates
- Black smoke from the exhaust
- Unusual noises or vibrations
- Water in the fuel (visible in filter bowls)
- Corroded or rust-colored fuel
- Clogged fuel filter shortly after replacement
Tools and Supplies You’ll Need
Before starting the cleaning process, gather the following tools and materials:
Required Tools:
- Safety goggles and gloves
- Marine-approved fuel siphon pump
- Fuel-resistant containers for old fuel
- Flashlight or borescope (for inspection)
- Screwdrivers, wrench set, and ratchet
- Shop vacuum or fuel tank cleaning vacuum
- Marine-safe degreaser or solvent
- Absorbent pads or shop towels
Optional but Helpful:
- Inspection mirror
- Fuel filter funnel
- Flexible hose or tubing
- Torque wrench (for reinstallation)
Safety First: Precautions Before You Begin
Cleaning a fuel tank involves flammable materials. Always follow these precautions:
- Work in a well-ventilated area.
- Avoid open flames or sparks. This includes smoking or using electrical tools nearby.
- Disconnect the boat battery. Prevent accidental ignition.
- Use non-sparking tools when possible.
- Have a fire extinguisher nearby. Marine-rated Class B preferred.
Step-by-Step: How to Clean a Boat Gas Tank
Step 1: Access the Gas Tank
Depending on your boat’s design, the gas tank might be:
- Under a hatch
- Beneath the deck
- Integrated into the hull
Instructions:
- Remove cushions, floorboards, or panels
- Disconnect any electrical connections to fuel sensors or senders
Step 2: Drain the Tank Completely
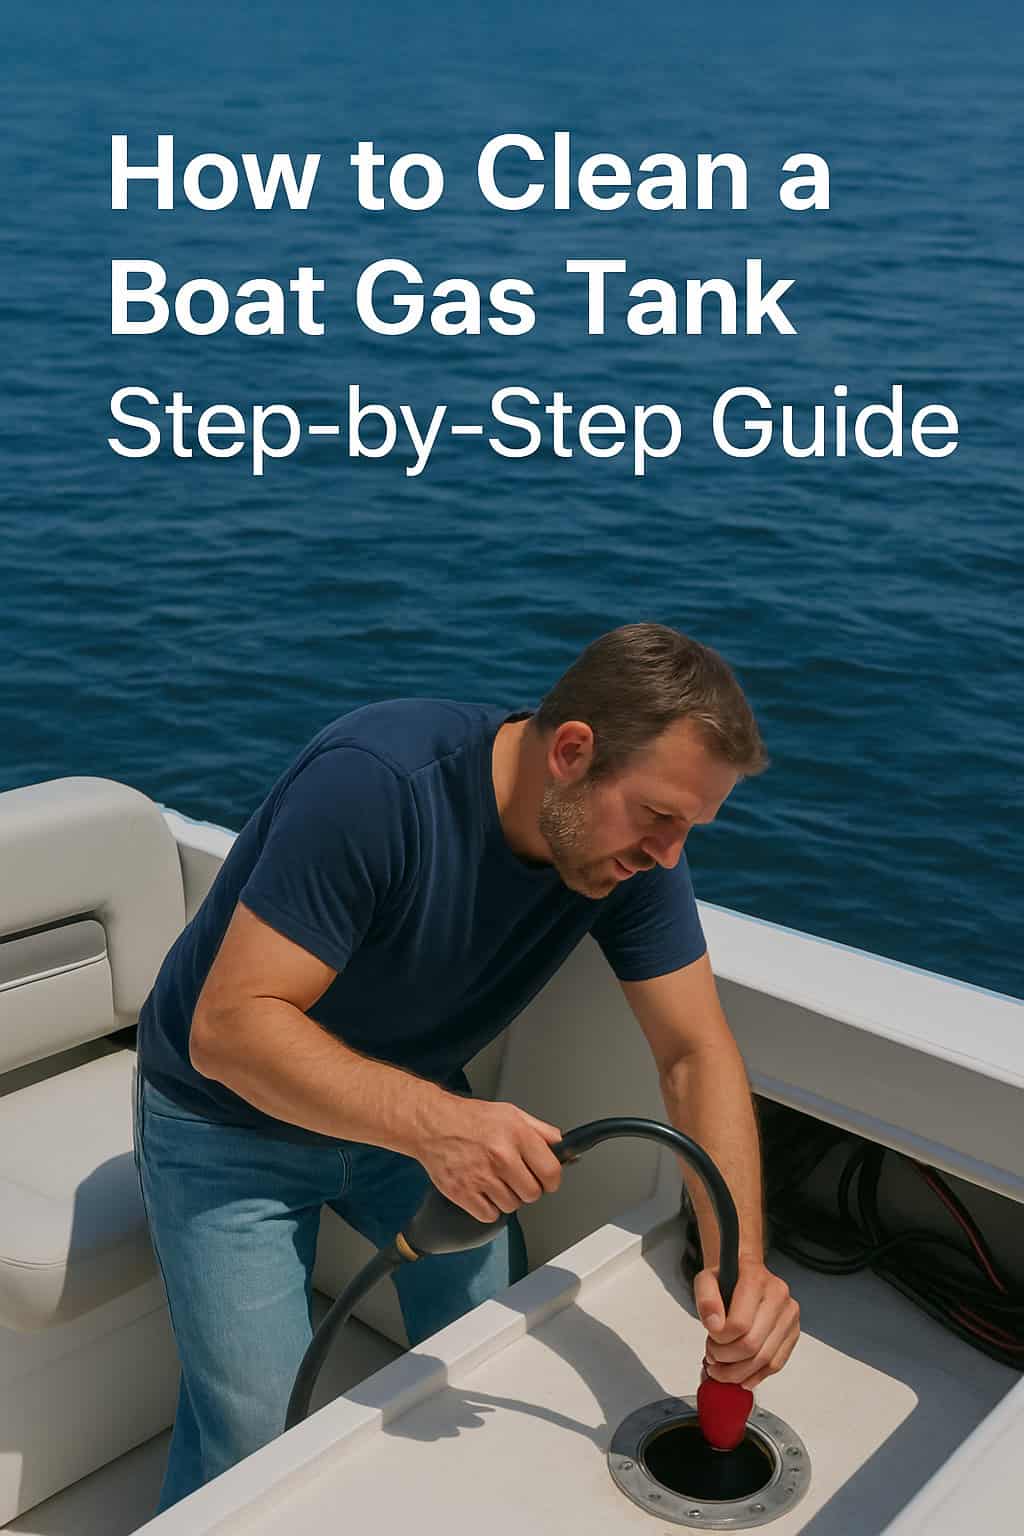
Use a fuel transfer pump or siphon to remove all fuel.
Tips:
- Use a clear hose to monitor the fuel being extracted
- Transfer fuel to approved containers and dispose of it properly
- If the fuel is still usable, store it in a stabilized container
Step 3: Remove the Tank (If Applicable)
If your tank is removable:
- Disconnect fuel lines and sensor wires
- Loosen mounting brackets or bolts
- Carefully lift and remove the tank from the boat
If your tank is not removable, skip to Step 5.
Step 4: Rinse Out the Tank
- Pour in a marine-safe degreaser or cleaning solution
- Add warm water and shake or agitate the tank
- Allow the solution to sit for 30 minutes
Note: Never use household soap—it can leave residues.
Step 5: Scrub the Interior (Optional for Large Openings)
If you can access the interior:
- Use a long-handled brush or bottle brush
- Scrub corners and surfaces
- Be gentle to avoid damaging any interior coating
Step 6: Vacuum and Remove Residue
Use a wet/dry vacuum with a flexible hose to:
- Remove all liquid residue
- Suck out remaining debris, rust flakes, or dirt
Ensure the tank is completely dry before the next step.
Step 7: Inspect the Interior
Use a flashlight or borescope to check for:
- Rust or corrosion
- Sludge or sticky fuel residue
- Structural damage
Repeat cleaning if necessary.
Step 8: Replace Fuel Filters and Lines
While the tank is out or drained:
- Replace old fuel filters
- Inspect and replace cracked or corroded fuel lines
- Clean or replace the fuel water separator
Step 9: Reinstall the Tank
- Reconnect fuel lines and sensors
- Torque mounting bolts to the manufacturer’s spec
- Reconnect battery and electrical connections
Step 10: Add Fresh Fuel and Stabilizer
- Use only marine-grade fuel
- Add a fuel stabilizer if the boat will sit unused
- Prime the fuel system and check for leaks
Additional Tips and Expert Advice
Tip 1: Use a Fuel Polishing System
If you don’t want to remove the tank, fuel polishing can clean the tank while still installed. It filters, circulates, and cleans the fuel in place.
Tip 2: Schedule Annual Tank Inspection
Preventive maintenance goes a long way. Once a year:
- Check for water contamination
- Replace filters
- Use fuel additives to prevent sludge
Tip 3: Don’t Let the Tank Sit Empty
Empty tanks invite moisture and condensation. Keep your tank at least 90% full during storage.
Tip 4: Beware of Ethanol Fuel
Ethanol attracts water and can degrade quickly. Use ethanol-free fuel or add a stabilizer regularly.
Cleaning Aluminum vs. Plastic Boat Gas Tanks
Feature | Aluminum Tank | Plastic Tank |
Corrosion Risk | Yes – requires inspection | No – but can absorb fuel odors |
Cleaning Method | Degreaser + manual inspection | Rinse + visual check |
Damage Sensitivity | Moderate – avoid harsh tools | Lower – but softer plastic |
Weight | Heavier | Lighter and more flexible |
Environmental Considerations
Proper fuel disposal is not just good practice—it’s the law:
- Never pour fuel down drains or on the ground
- Contact a local hazardous waste center
- Use spill-proof containers during transfer
Use absorbent pads to catch drips and spills during the process.
Frequently Asked Questions (FAQ)
Q: How often should I clean my boat’s gas tank?
A: At least once every 2–3 years, or anytime you notice contamination or performance issues.
Q: Can I clean a gas tank without removing it?
A: Yes, using fuel polishing systems or by siphoning and flushing with marine-grade cleaners.
Q: What happens if I don’t clean my tank?
A: You risk clogged lines, injector failure, and reduced engine life.
Q: Can I use vinegar or household cleaners?
A: No. They may leave harmful residues. Use only marine-safe degreasers.
Q: Should I clean the tank before winter storage?
A: Yes, especially if you had moisture issues during the season.
Conclusion
Cleaning a boat gas tank may sound intimidating, but with the right tools, preparation, and process, it’s entirely manageable—even for DIYers. Regular maintenance ensures your engine runs efficiently, keeps you safe on the water, and saves you money on repairs in the long run.
Whether you own a small fishing boat or a high-performance cruiser, treating your fuel system with care starts at the tank. Follow this guide step-by-step and make tank cleaning a regular part of your boat ownership routine.
Your engine will thank you—and so will your wallet.